A gorgeous beet-citrus-celery salad and a pantry pasta to wow + nourish
Stay sane this Thanksgiving
I have realized many times over that a picture conveys 1000 words.
My parents recently attended an intimate dinner with friends, where each couple made a dish (or two!) from my book. They very sweetly sent photos throughout the evening, and to my delight, I was able to take in the contributions each person made and relish in this slice of community. It felt like part homage, part connecting - both to their experience of storytelling and the flavors throughout my book, as well as hearing them resonate with my philosophy of eating well via incorporating scraps here and there, preserving the seasons, and so on. Perhaps the most important takeaway? They ate like royalty.
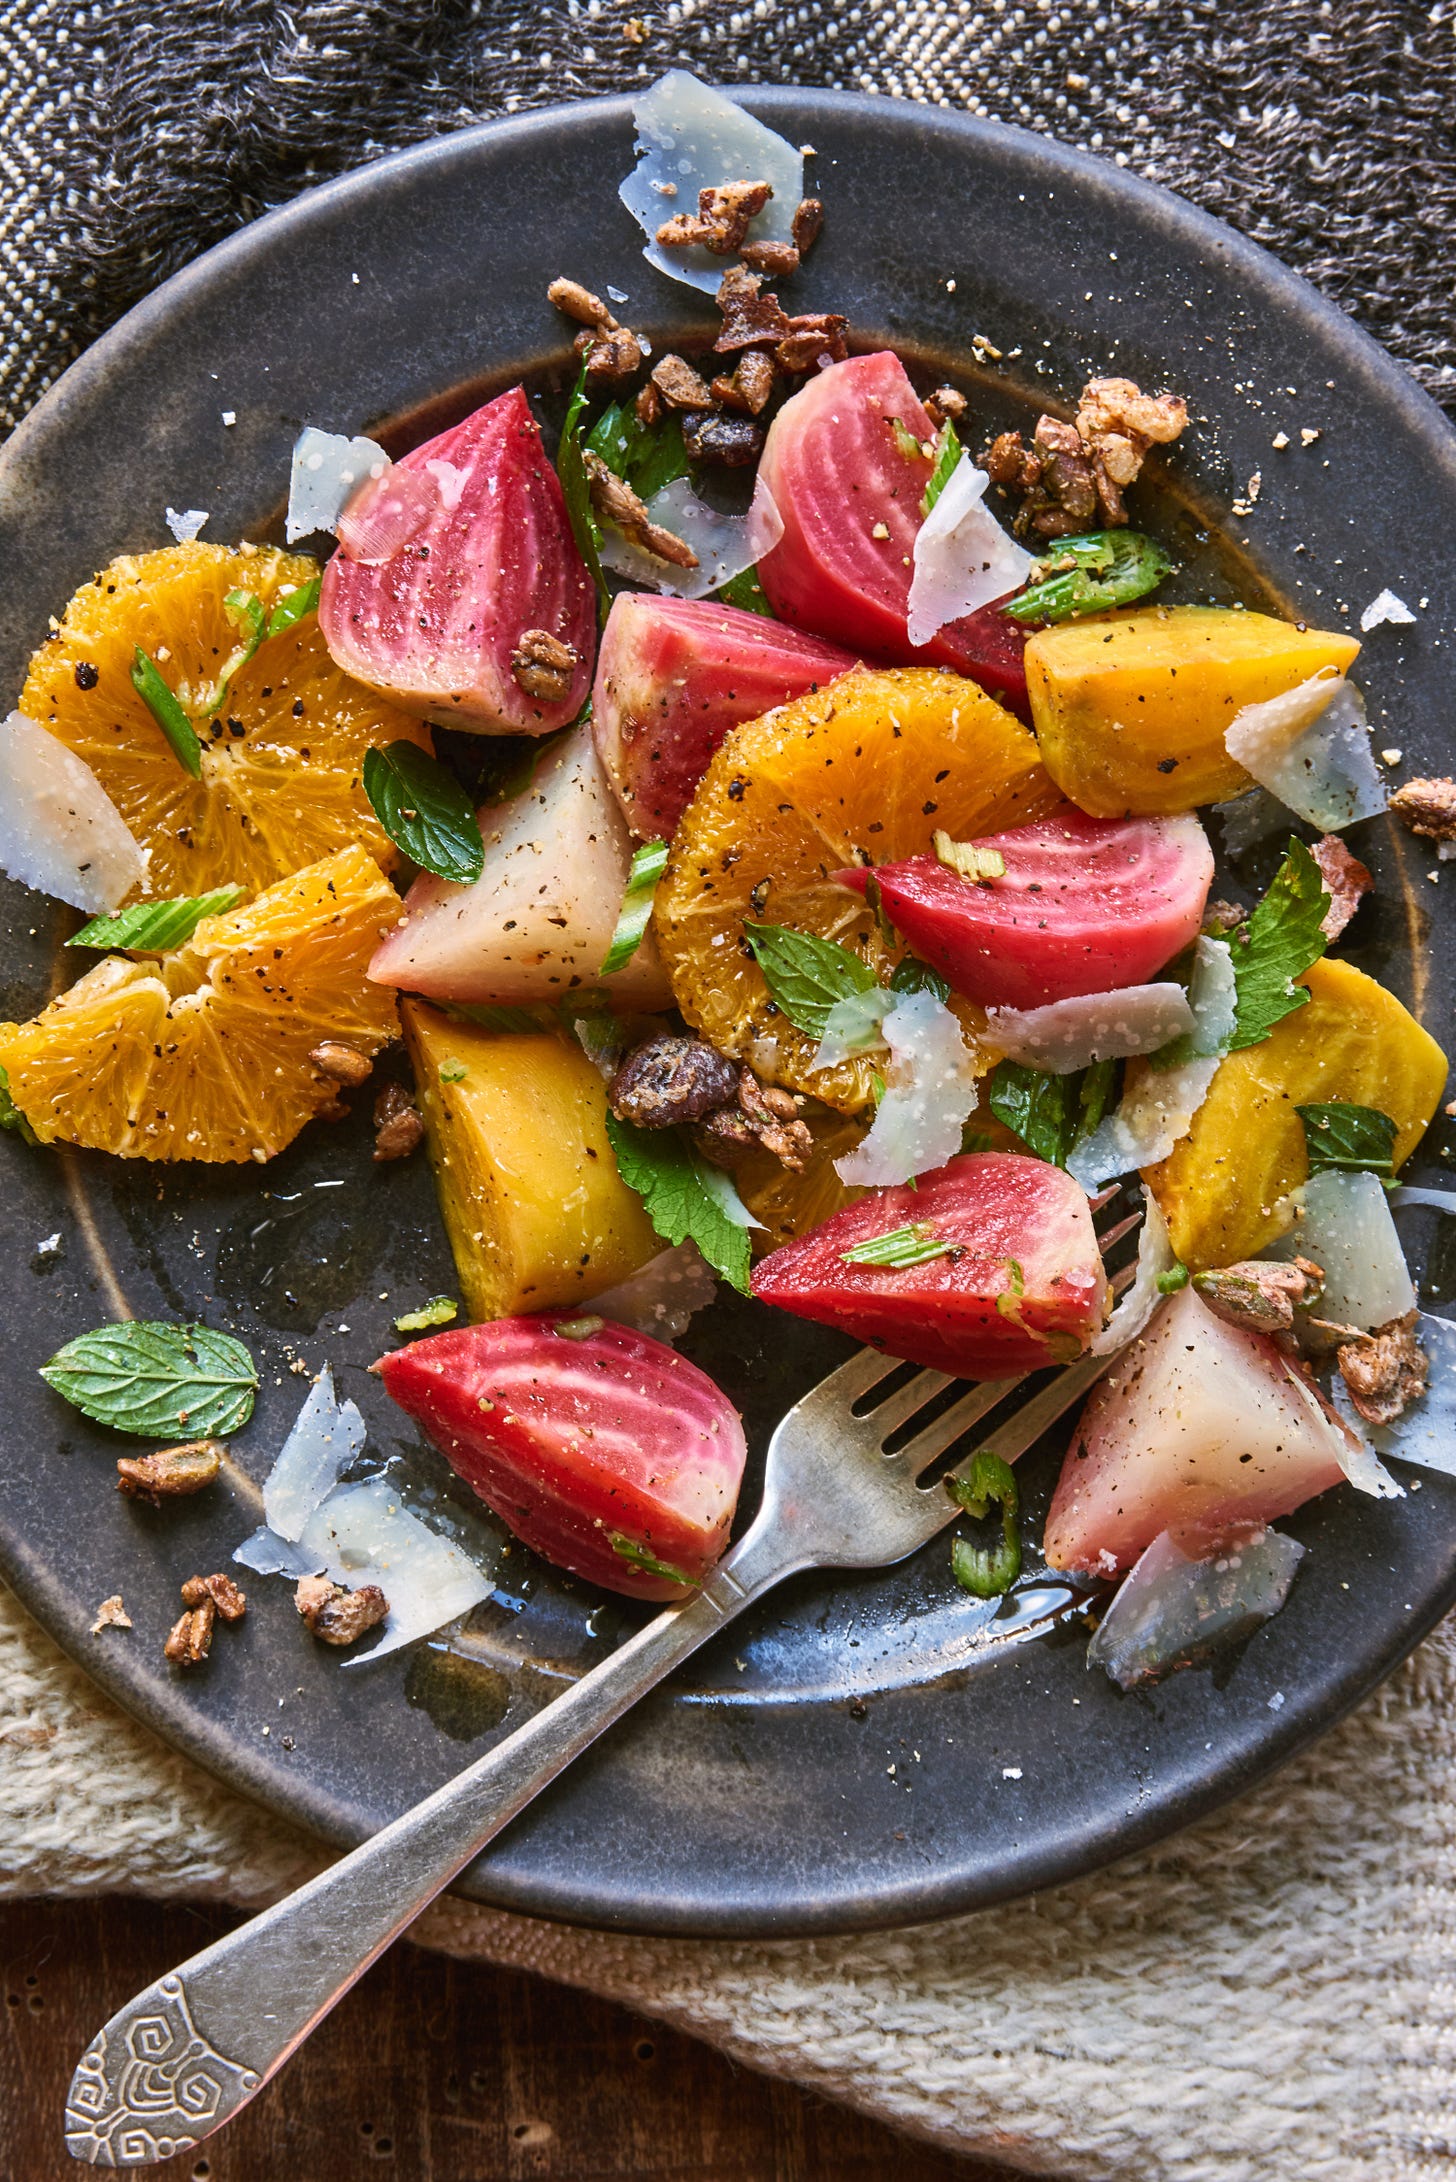
One couple made my Beet, Mandarinquat, Celery Salad from the book. If you have a copy, it’s under Light Fare in the winter chapter, p. 247. This recipe has no accompanying photograph, which almost certainly means fewer people get seduced into making it. This is a shame. If you knew just how good (and easy!) it is you would most definitely make it - on repeat - to carry you through brittle winter. Doesn’t it look like a thing of beauty? It really is.
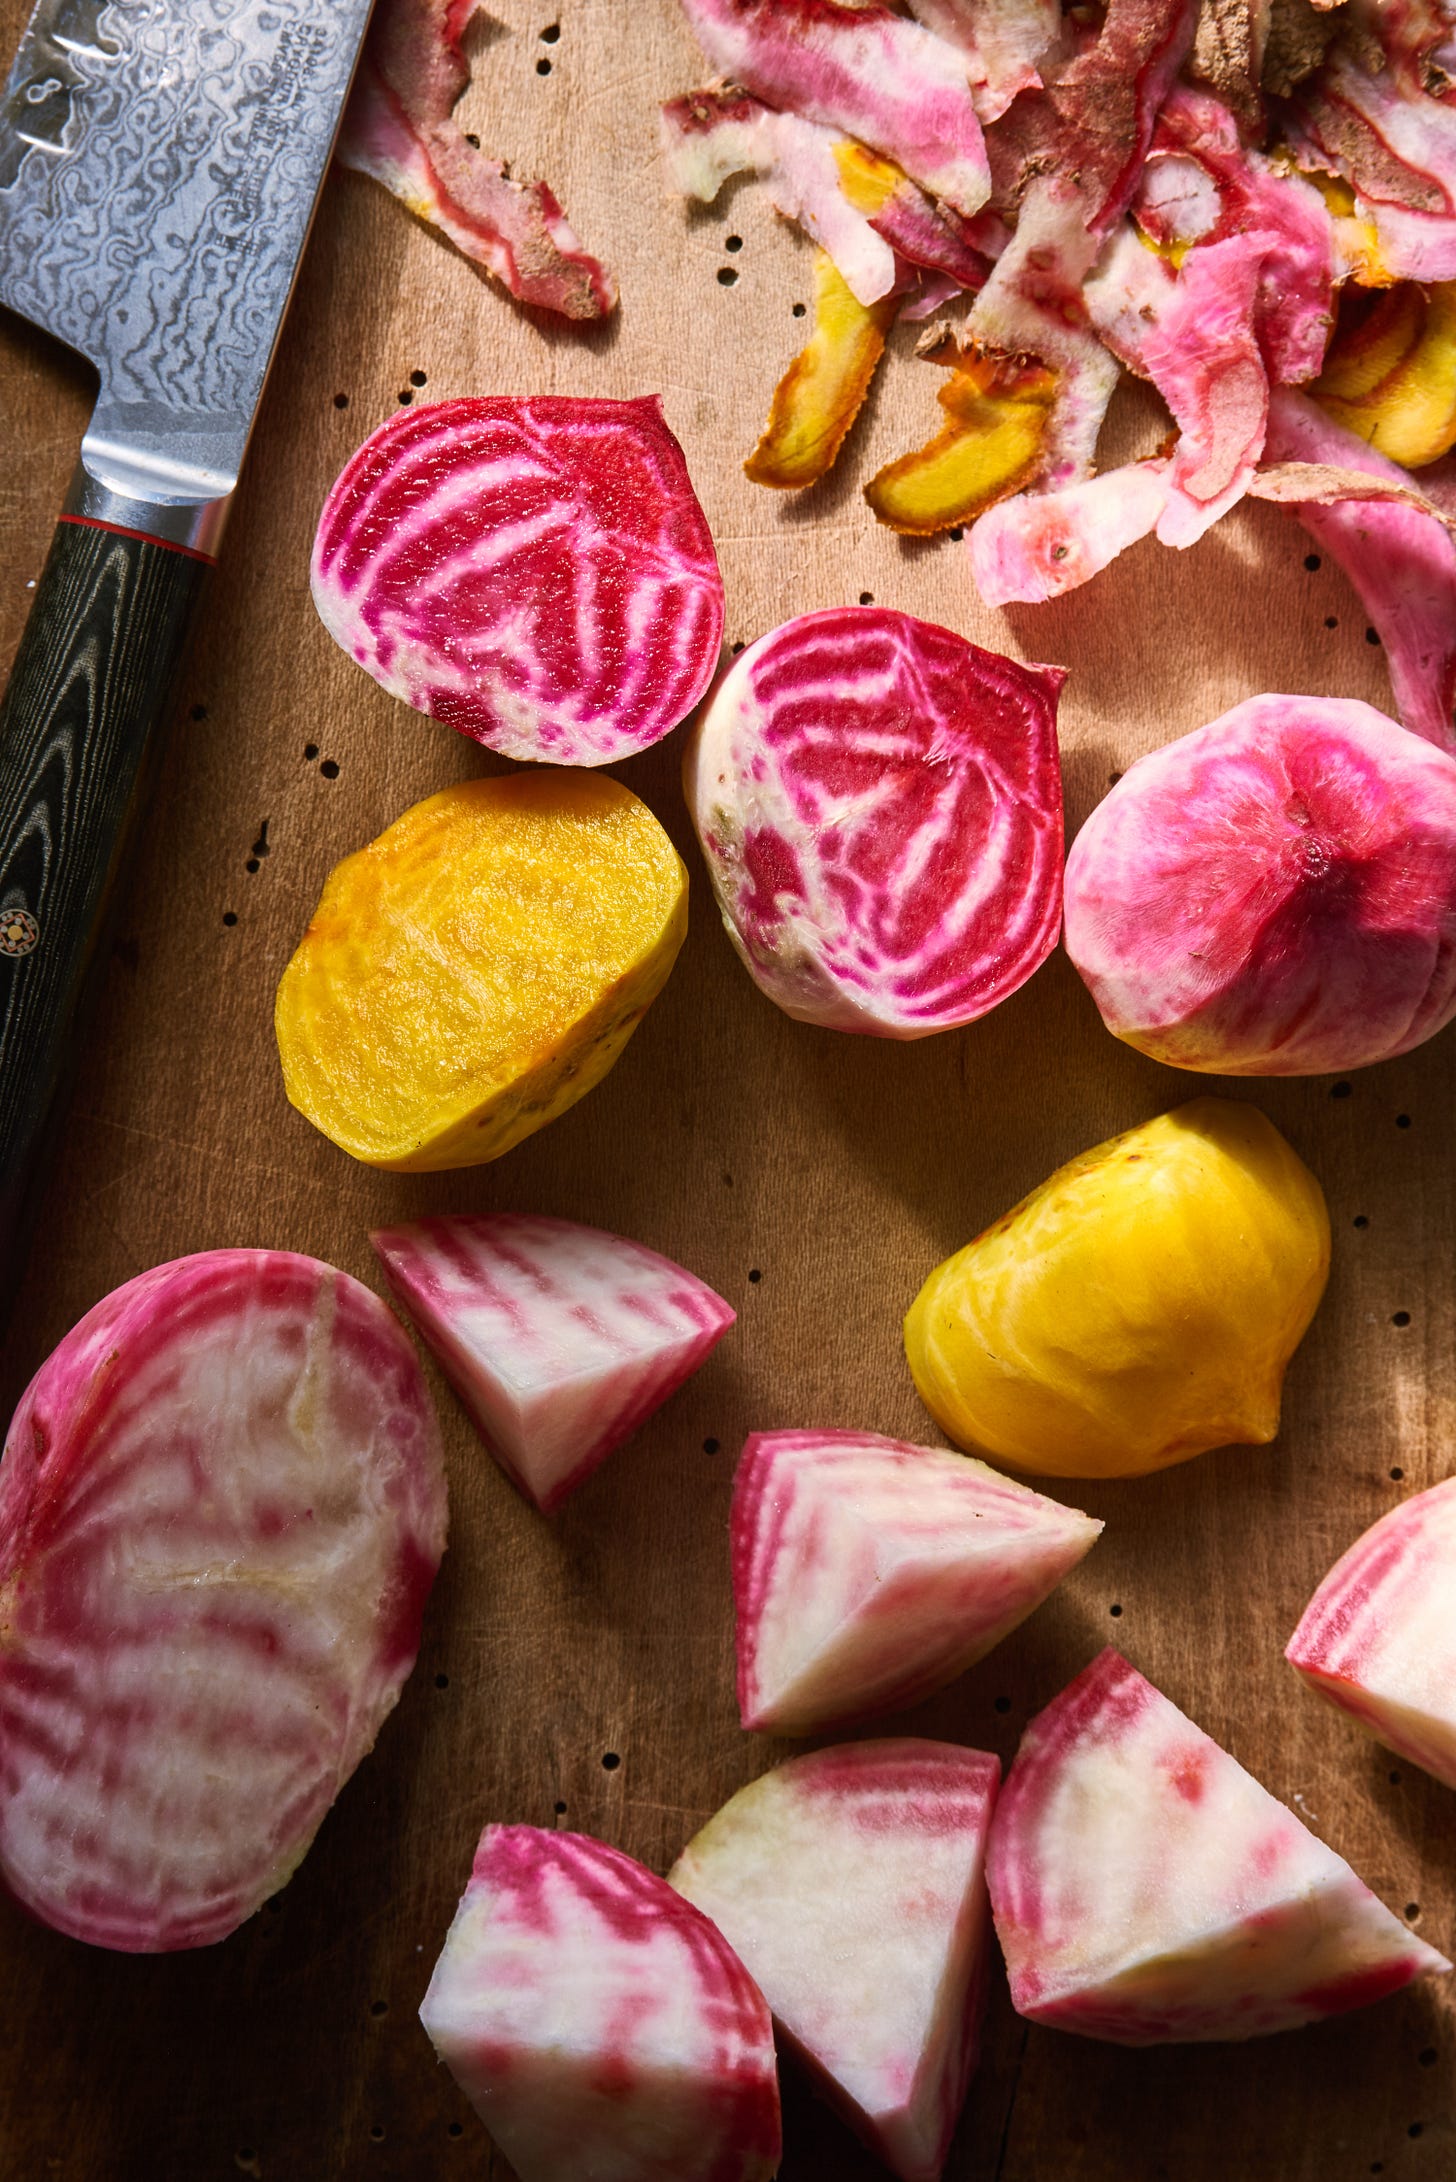
Seeing this at someone else’s table reignited my own excitement to make it, and I just happened to have a version on-hand of each of the ingredients. I had regular navel oranges, which can absolutely be swapped for the more niche kumquats or mandarinquats (even though you ought to hunt these down at another point, too - they are so special and delicious). I opted to peel and steam the beets rather than roast them so I could have a more immediate satisfaction. Their earthy character and gorgeous colors hold up nicely in this method. And let’s be honest, if you plan to make this salad for Thanksgiving, chances are your oven will be in high demand day-of, so this is a further simplifying step. I’ve used golden and chiogga beets because it’s what was in my root drawer, but use what you have available.
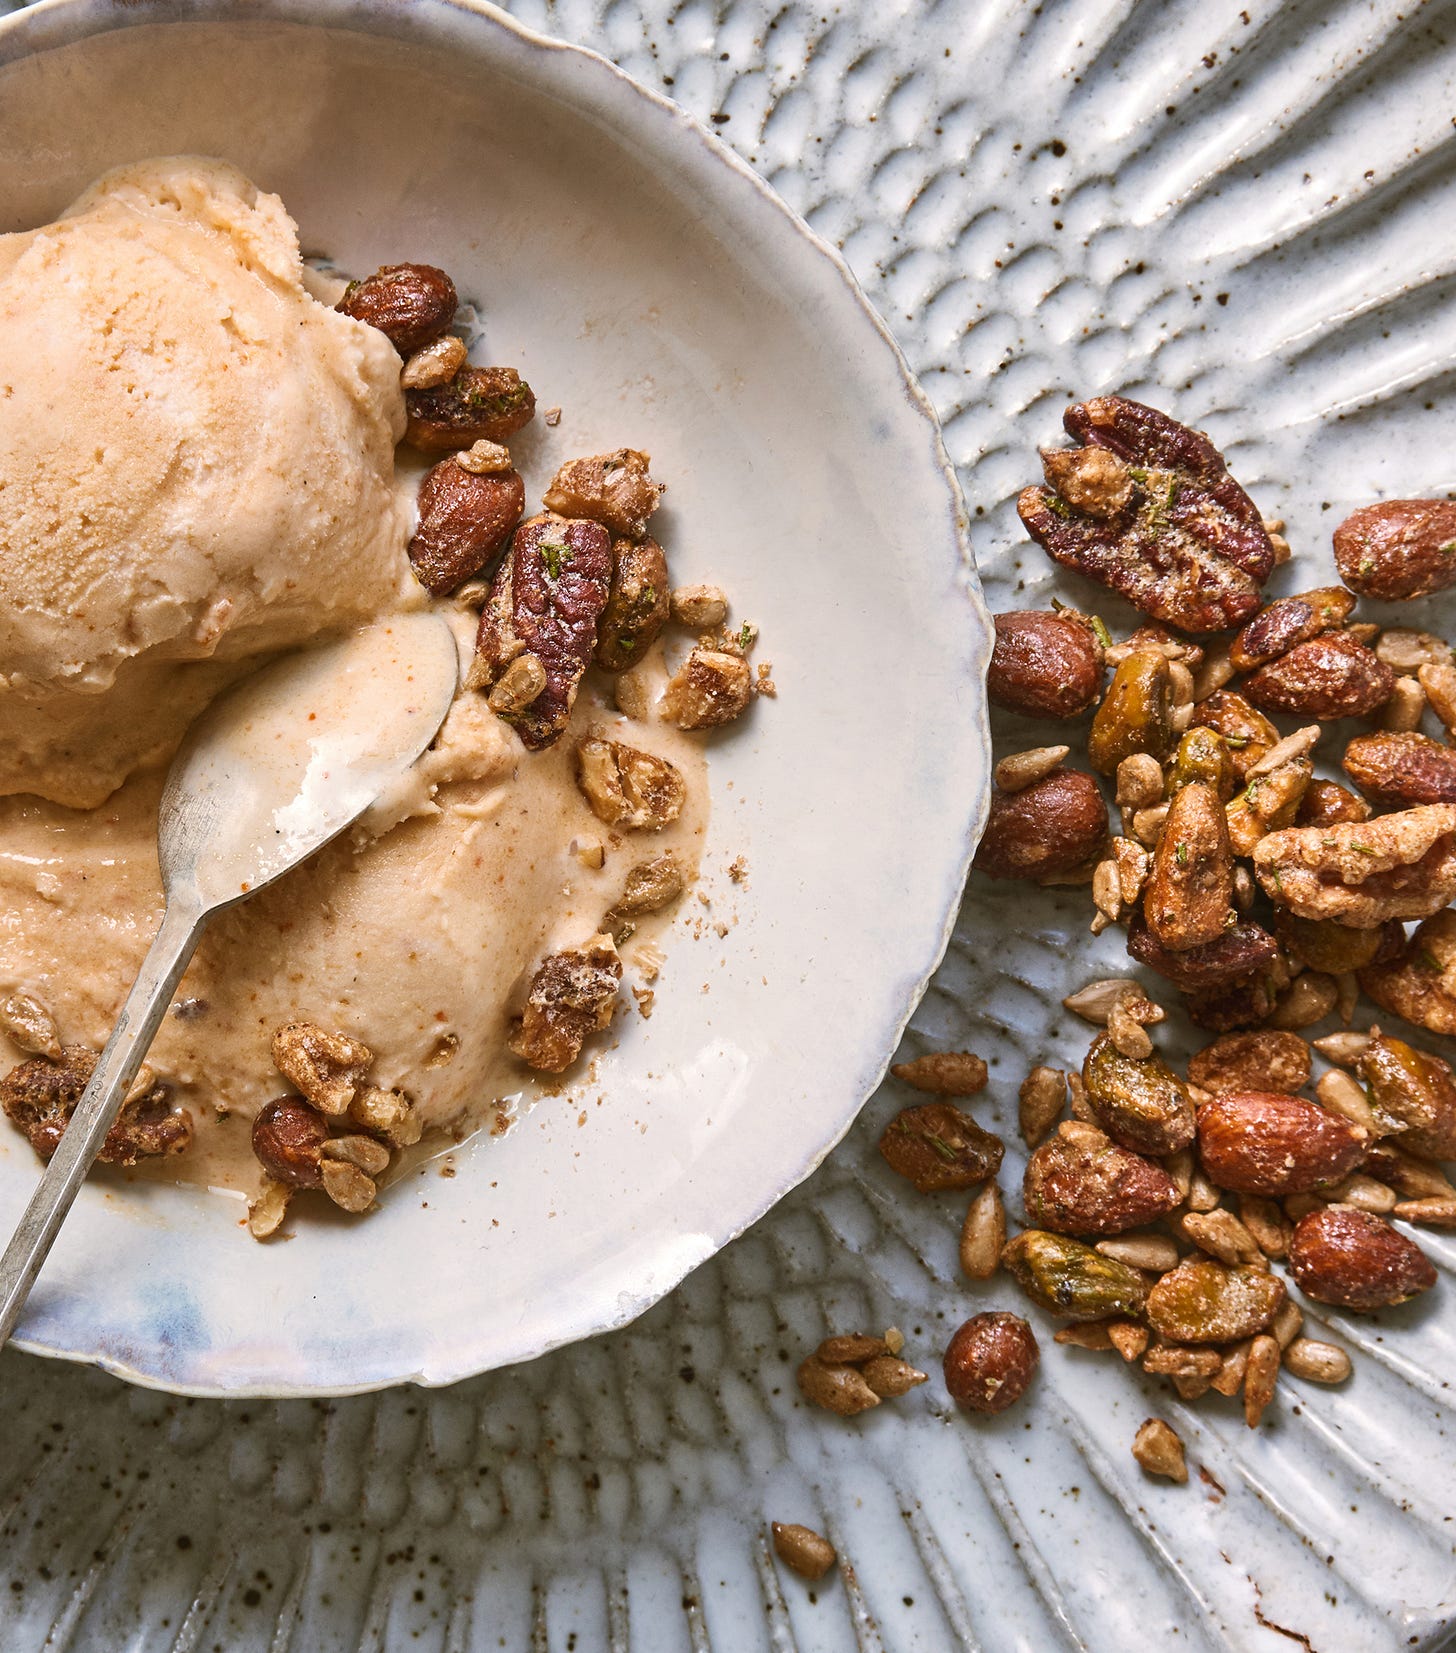
This juicy salad delivers big on flavor, color, and texture and it is perfect at your Thanksgiving table. Once you’ve made the accompanying spiced nuts, the dish takes less than 15 minutes to throw together, plus then you also have spiced nuts (!!) and you will love adding them to everything. Or eat them straight from the jar, as I confess to doing. If making the spiced nuts isn’t in the cards, get a nice fancy roasted - or candied - nut mix and use them.
Spiced nuts
Makes enough to fill a quart jar
1/2 cup each:
Lightly salted pistachios
Pecans
Almonds
Lightly salted sunflower seeds
1 cup walnuts
1 egg white (save the yolk and make aioli)
1 tbsp finely chopped fresh rosemary
2 packed tbsp light brown sugar
½ tsp freshly grated nutmeg
¼ tsp cayenne
¼ tsp freshly cracked black pepper
½ tsp flake salt
To make the spiced nuts, preheat oven to 375°. On a parchment-lined sheet pan, toast each kind of nuts in batches in the oven until fragrant. Start with smaller shapes and work to the largest, as once it’s hot, the oven will be more likely to burn sunflower seeds than walnuts. When one batch of nuts is done transfer them to a medium bowl, followed by the next batch, and so on, until all are finished and together in the bowl.
When the nuts are room temperature, add the spices, sugar, rosemary, salt, and pepper, and stir to combine.
With an electric mixer, beat the egg white in a small bowl until soft peaks hold. Transfer the fluffy egg white to the nut mixture and use a silicone spatula to fold it in until uniform.
Transfer the mixture to a parchment-lined sheet pan, spread it out more or less evenly, and roast for 8 minutes. Use the parchment edges to fold outermost clusters towards center, then use a spatula to scoot centermost clusters towards the periphery. Roast for another 3-5 minutes or until deeply golden and fragrant. You will end up with a collection of clusters and scattered pieces.
Cool the spiced nuts fully on the baking sheet. Gather the parchment ends to pour them into a quart sized ball jar. They will keep up to 1 month, sealed.
Beet, Orange, Celery Salad
Serves 2
2 medium-large beets
1 1/2 navel oranges, divided
2 stalks celery and their leaves, sliced thinly
10-14 fresh mint leaves, larger leaves torn
1 generous handful spiced nuts, coarsely chopped
Parmesan, for garnish
extra virgin olive oil, for drizzling
Flake salt & freshly cracked pepper
To make the salad, peel the beets and cut them into bite sized wedges. Place them in a steamer basket in a saucepan with an inch of water, cover and cook for 7 or 8 minutes, until the flesh is tender when pierced with a sharp knife.
While the beets steam, get in on trimming away the orange peel. Cut off the top and bottom from one orange. Resting it on one of the flat sides, slice along the curve to cut the skin and bitter white pith away, working in strips, until none remains. Slice the orange into wheels, remove any seeds, and place them in a salad bowl. Scoop up any additional juice left on the work surface - it will be useful once it’s time to dress the salad.
When the beets are tender, lift the steamer basket out and allow the beets to cool enough until you can handle them.
Assemble the salad: Add the beets, celery, and mint to the orange slices. Squeeze the additional 1/2 orange over all and add a generous glug of oil and cracked black pepper, then toss to combine.
Divide the salad between two plates. Shave parmesan generously to top, and scatter with spiced nuts. Sprinkle flake salt and cracked pepper to taste and eat at once. Bright mint and celery will provide relief from all the rich centerpiece dishes of the day, orange’s juicy sweetness brings further lift, and the sharp shaved parm is a pleasing salty hit.
And now a perfect pantry meal, for when there is no time but you must eat. This puttanesca recipe is also from my book and a recipe I hadn’t made in too long. It is a real showstopper for nominal effort. The puttanesca appears in the fall chapter, on page 218 as part of a whole dinner feast.
Here it gets an extra-special treatment, paired with the wonderfully chewy addition of pici, one of the easiest handmade pastas you can make. It requires no fancy equipment and is something you can make with kids, roommates, or friends. Once you get the hang of rolling the strands, it goes in no time.
This set of recipes is for paid subscribers. If you’re already a paid subscriber, THANK YOU! If you’re not a paid subscriber, please consider upgrading to paid. Your support truly helps me continue to produce high quality, delicious content for you all. If a paid subscription isn’t for you, there will be plenty more free recipes. I appreciate you being here.
Keep reading with a 7-day free trial
Subscribe to Stories from Catbird Cottage to keep reading this post and get 7 days of free access to the full post archives.


